Hello dear colleagues!
Today I want to tell you how to make 3 e-meters using only one Theta-Meter.
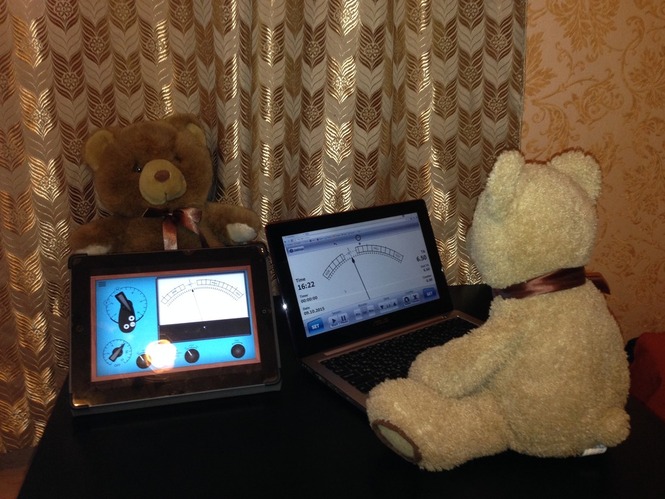
Of course, we will not use any magic, our purpose is to use Wi-Fi access point plus Theta-Meter e-meter to offer to student, twin and supervisor at the same time possibility to see e-meter interface at their's own computer devices. This is very comfortable when two students doing e-meter drills can see their own e-meter at their's computer, tablet or phone, and supervisor can see what this two twins are doing at his device.
Let's look on video how it is working:
What should you do to see 3 e-meter interfaces at three different devices getting data from one USB Theta-Meter e-meter?
Let's follow this steps:
- Plug USB Theta-Meter e-meter to Theta-Meter Wi-Fi Access point.
- Connect power source to the Theta-Meter Access Poin light by connecting external power adaptor, the battery or simply turning on the power at the Theta-Meter Wi-Fi Access Point with the battery.
- Waiting for the end of access point booting. This is smaller than one minute.
- Connect your computer, tablet or phone to the access point as you normally do this.
- At the computer device student working with run Theta-Meter program and in the Settings select the Theta-Meter Wi-Fi. This is the standard way to work with Theta-Meter Wi-Fi Access point.
- Now two other devices (twin and supervisor) also connects to this access point.
- Run on these devices Chrome browser (FireFox or Opera also possible). Safari is not supported.
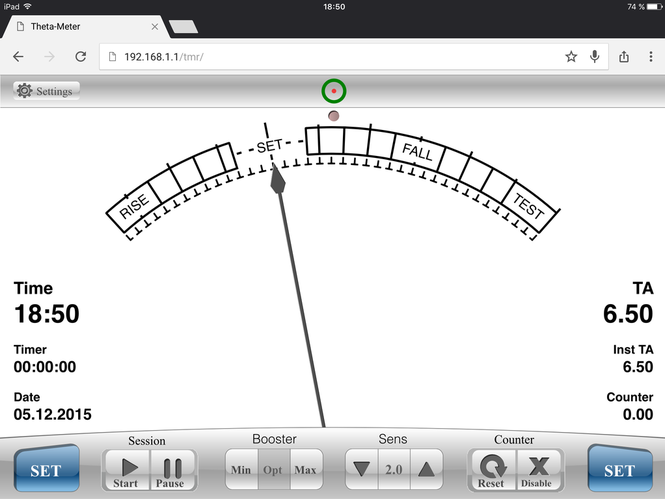
- In the address line of the browser type the address 192.168.1.1/tmr and then press Enter.
You see the interface of web version of the Theta-Meter. How to use it, you can see here.

As a result each of 3 people will have their own version of the e-meter in front of theirs eyes, showing what sends USB Theta-Meter via access point.
Have a good sessions!
Mikhail Fedorov
and Theta-Meter team

